Edge’s new Workspaces feature lets you save and share sets of browser tabs using a single link.

Microsoft’s Edge is rolling out a limited public preview of its Workspaces feature, which lets you save and share sets of browser tabs using a single link. We got our first look at Workspaces last year, but the new preview gives us a much clearer picture of how it all works.
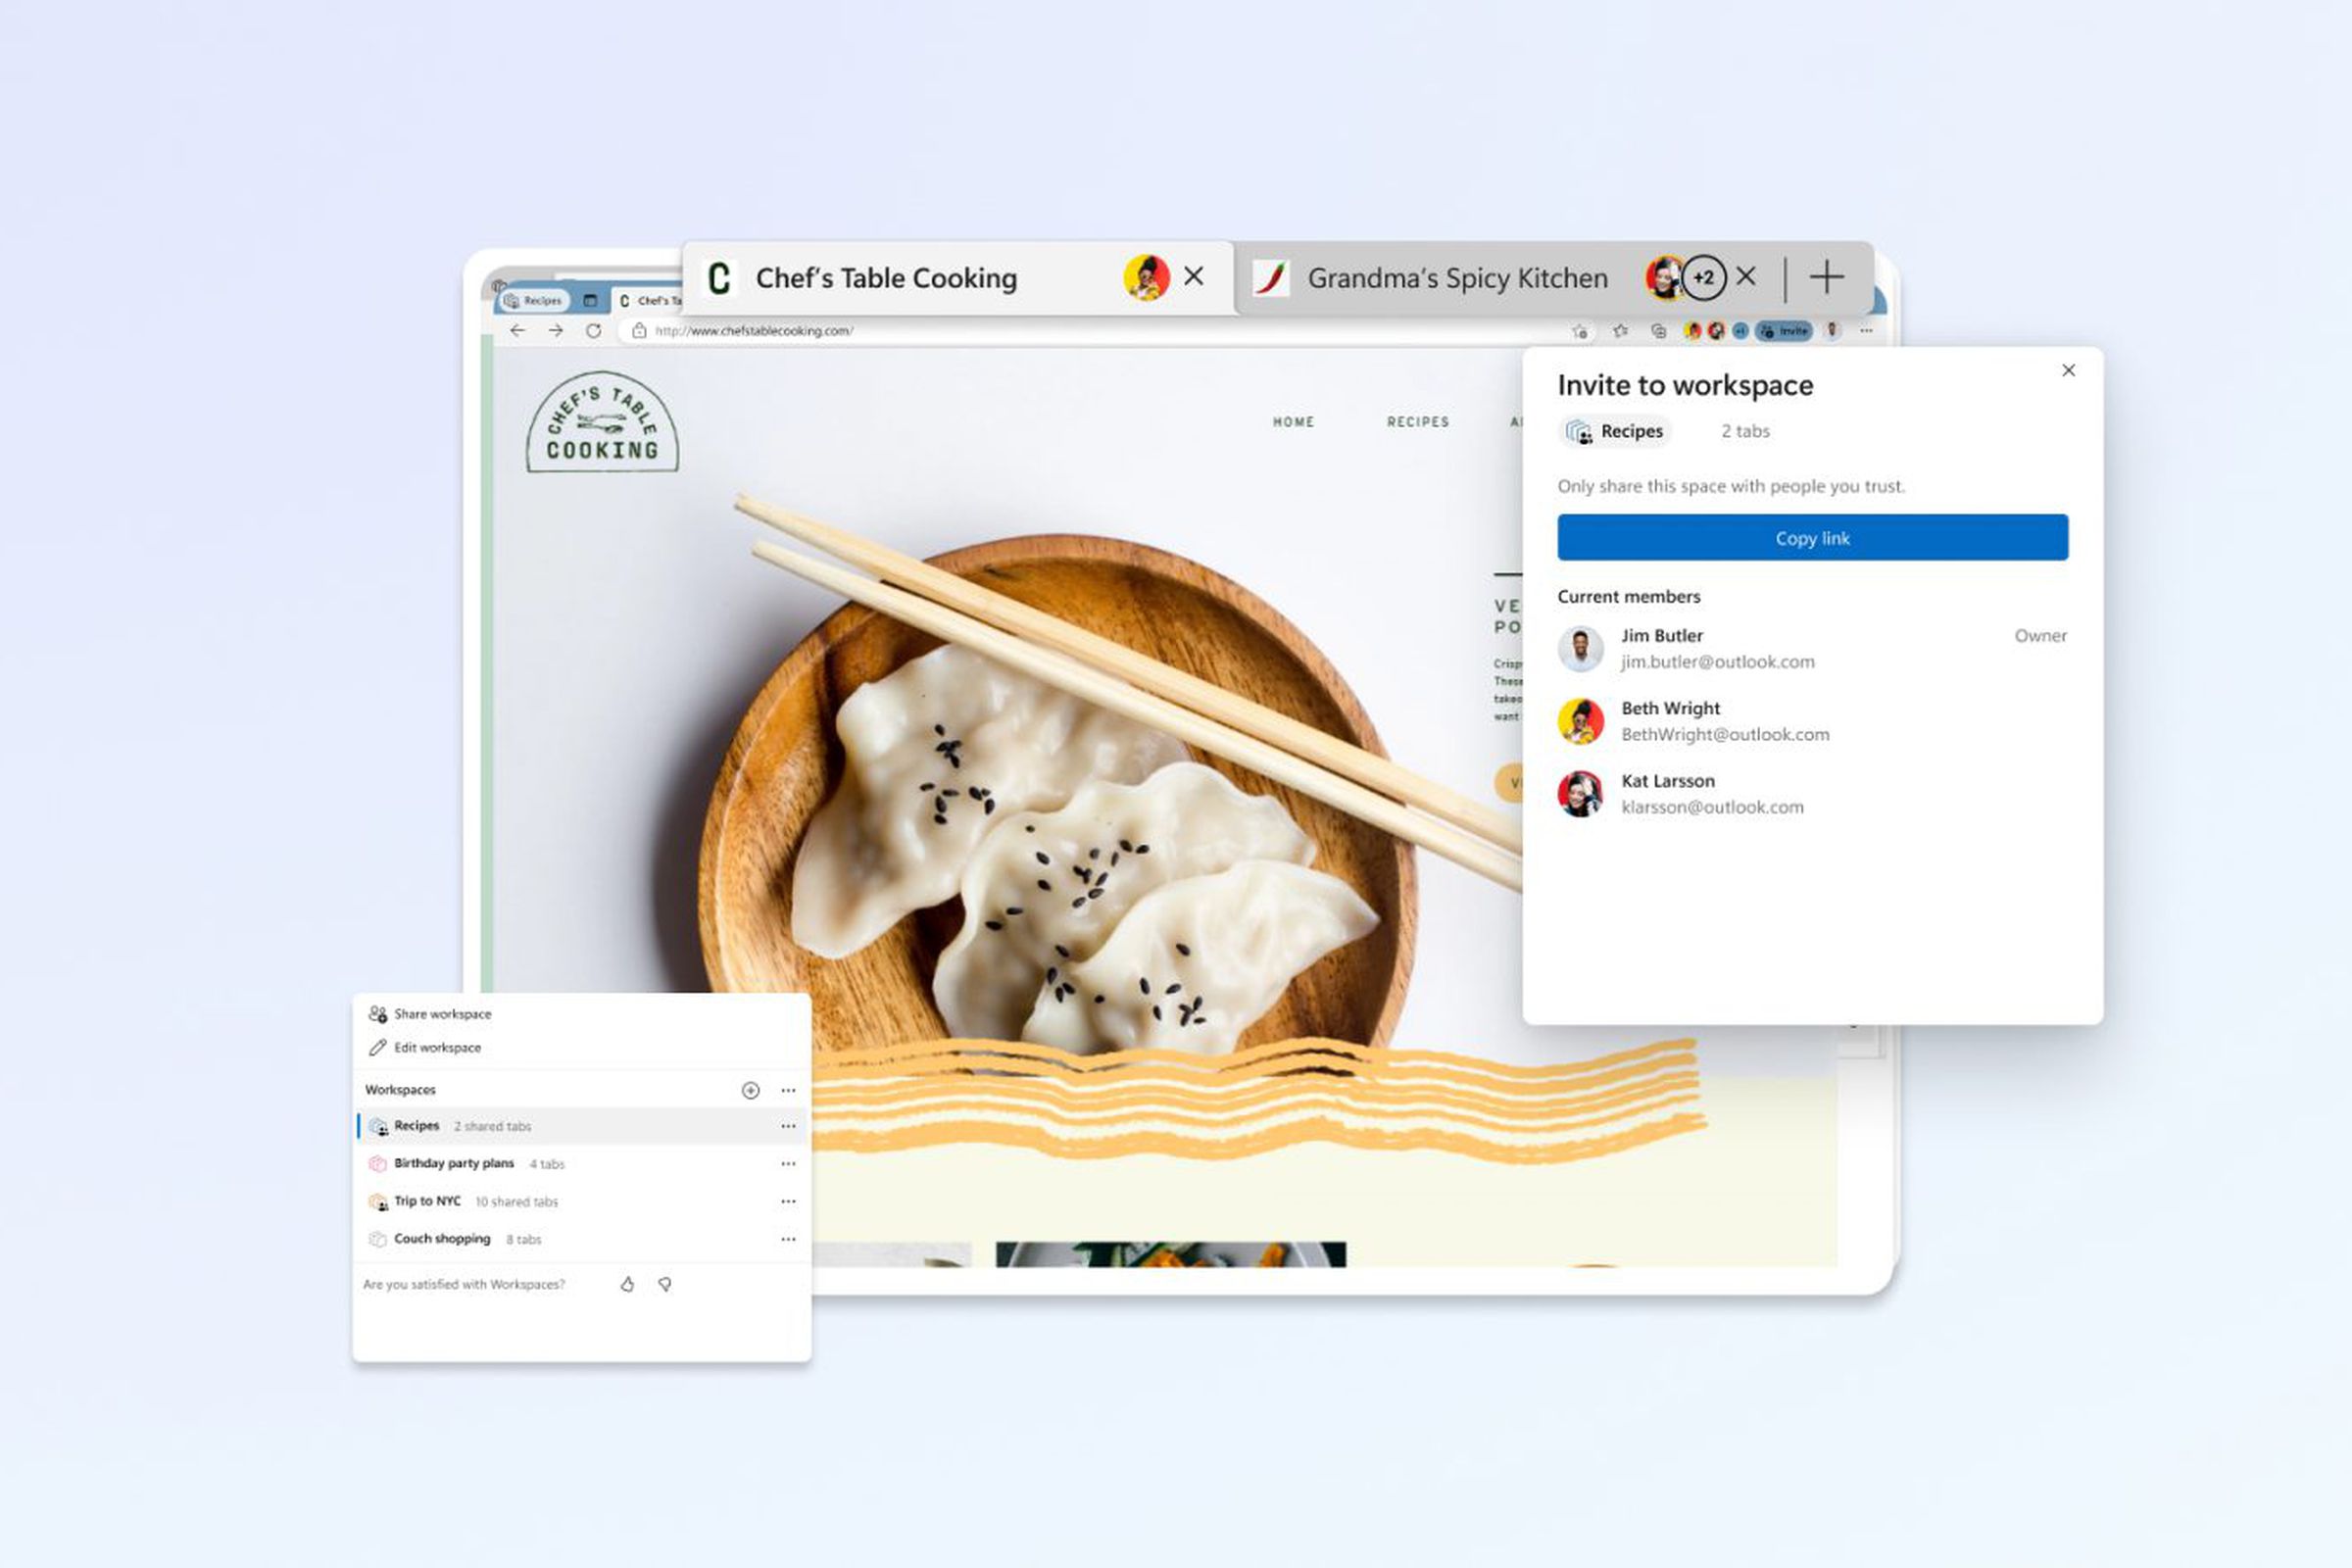
With Workspaces, you can gather a bunch of tabs on a particular topic and save them into neatly labeled groups within Edge. While this sounds a lot like Edge’s Collections feature (which already lets you save and organize webpages), Workspaces adds another layer of functionality by letting you share these saved tabs with your colleagues, who can then add or make changes to the tabs in real time.


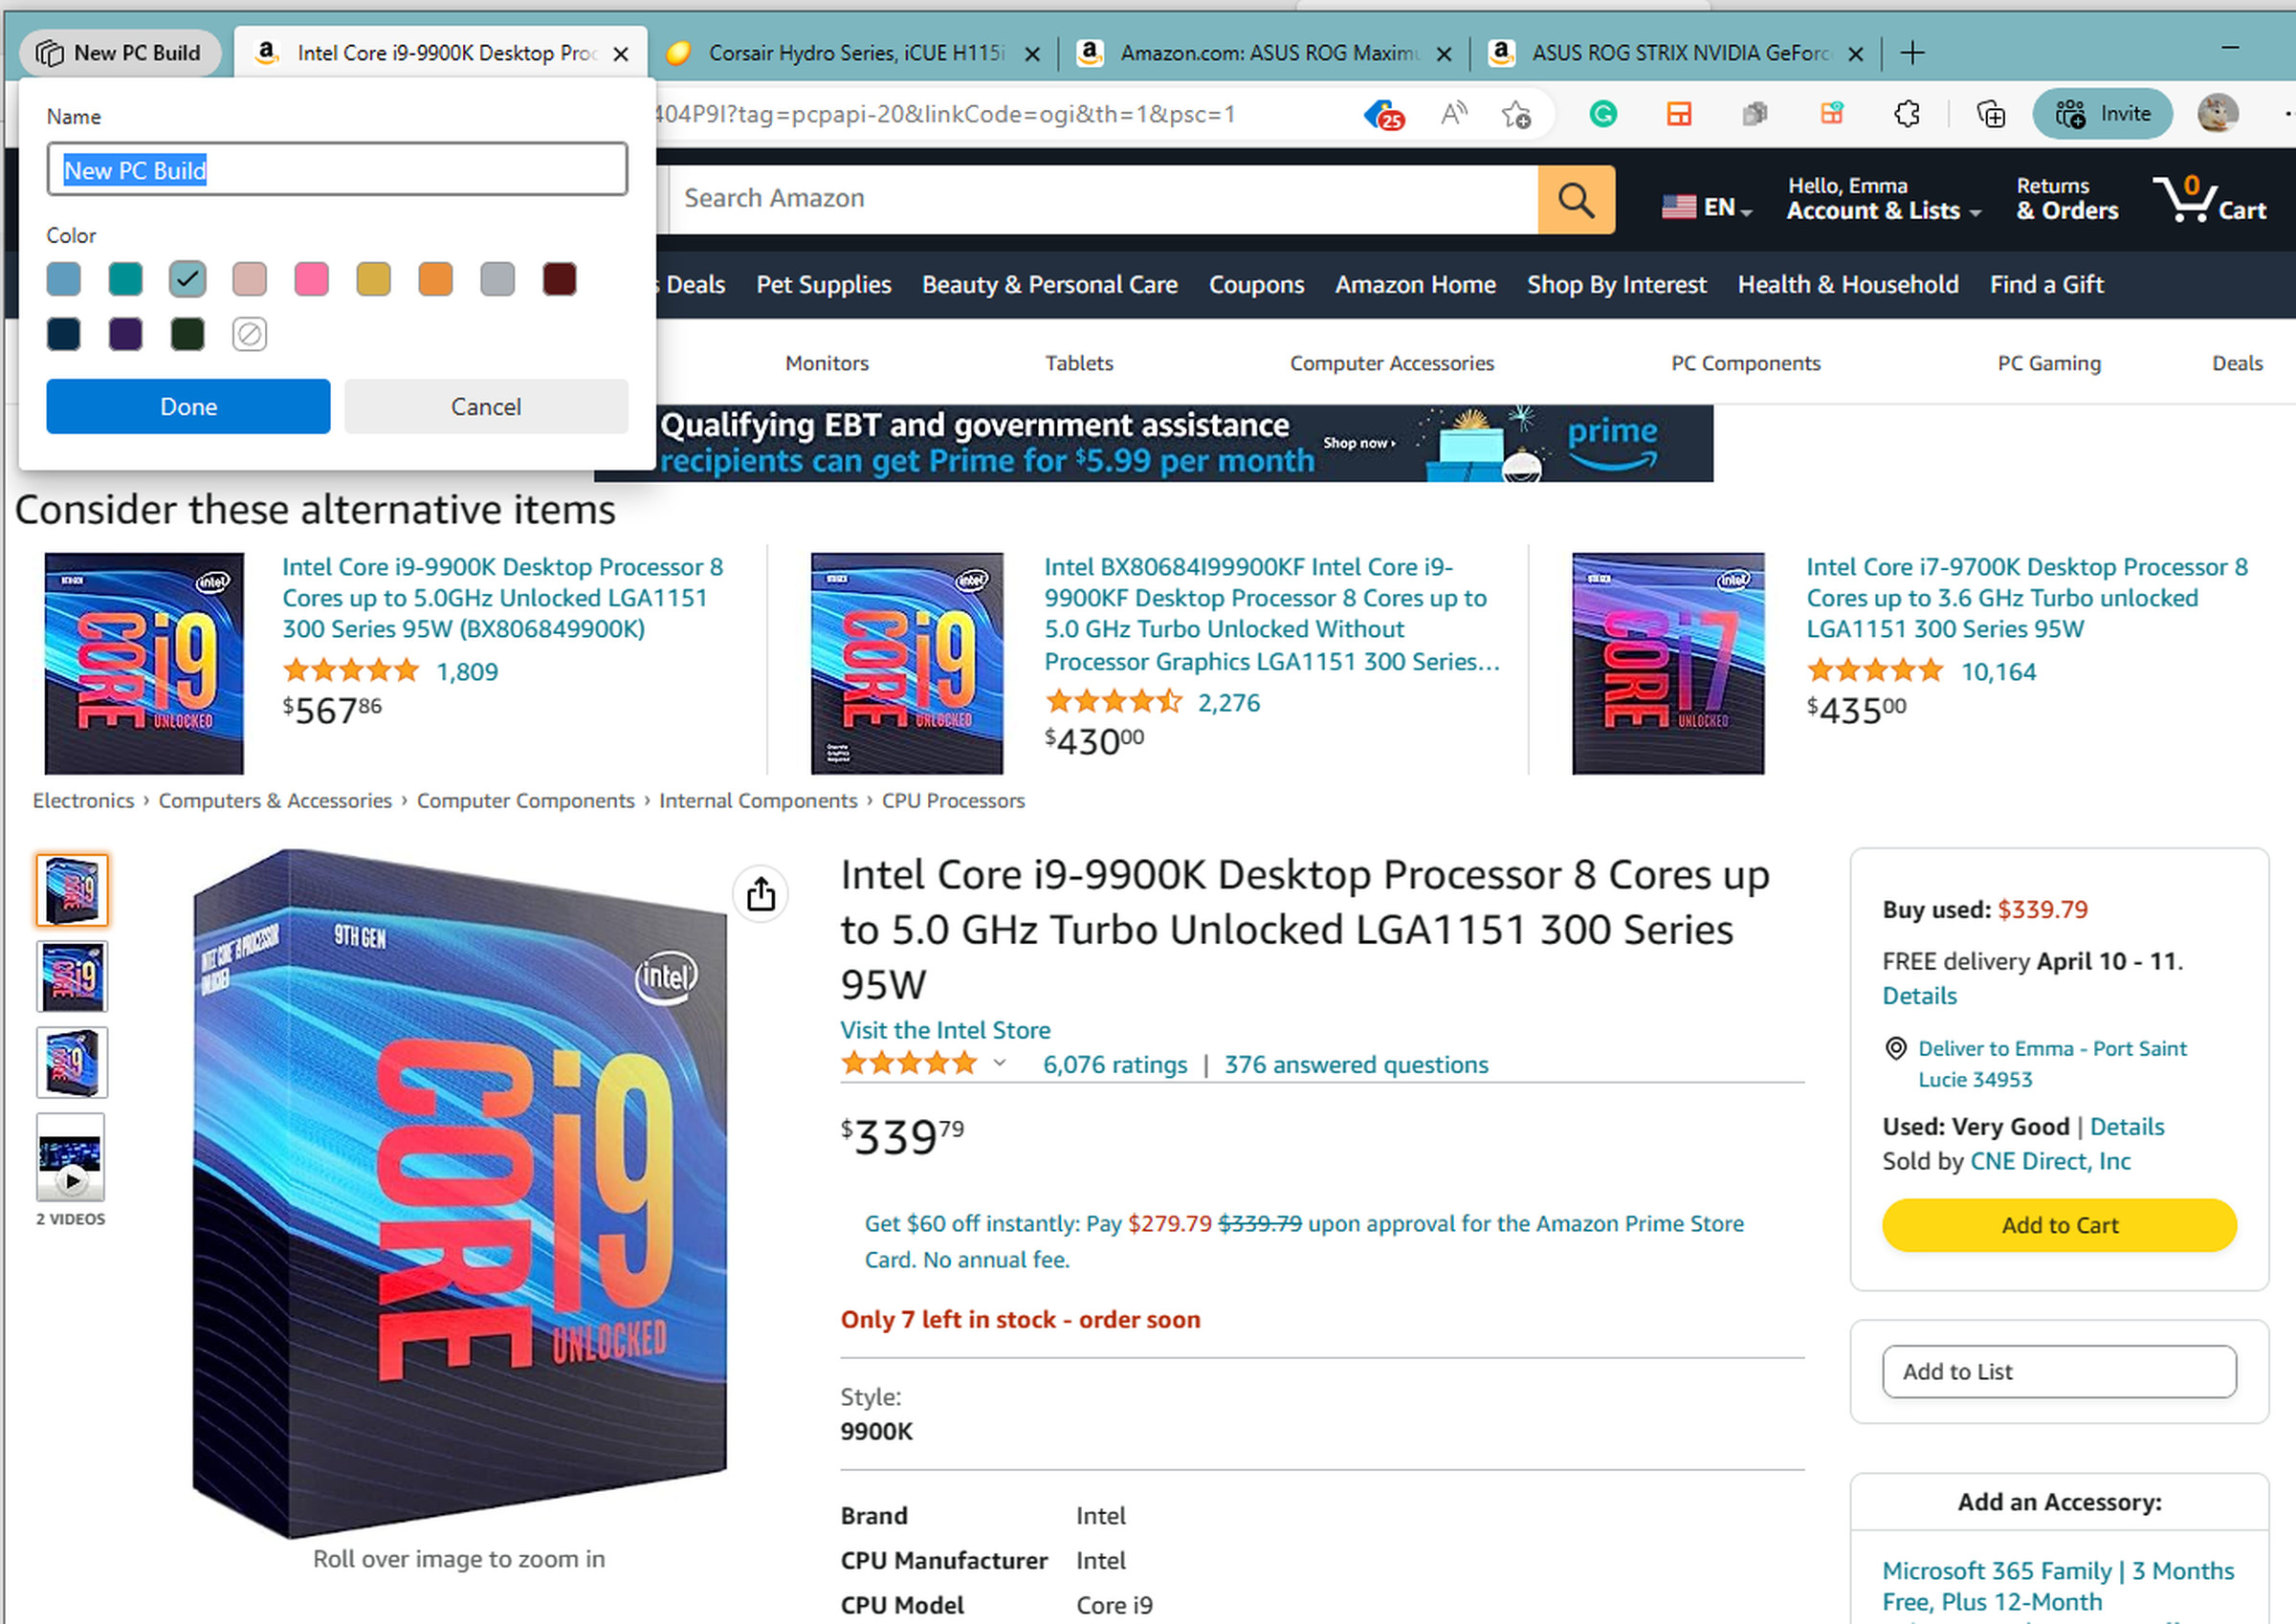
As you can see in the above screenshot, the Workspaces tab lives in the top-left corner of the browser. Click on it, and you’ll see the option to create and name a Workspace, as well as assign it a color of your choice. You can then start filling the Workspace with the tabs relevant to your research and, if you want, share it with anyone else who might want to see or contribute to your selection.
To do this, hit the Invite button to the right of Edge’s address bar and then hit Copy link. You can then send over the link via email, Slack, or any other messaging service. Keep in mind that whoever receives the link will have to download Edge in order to view and edit your Workspaces, however. When they accept the invite, you’ll see their name and icon within your Workspace, as well as which tab they’re currently in. You can also view any previously created Workspaces from the Workspace icon at the top left of your browser.
Microsoft notes that it won’t share private information when using your Workspace with others, including your passwords, downloads, collections, extensions, or cookies. It also won’t allow other users to view “website content which only you have access to,” such as your email inbox, and won’t show them anything you’re looking at outside your Workspace. If you have a PC, you can access the Workspaces preview here.
When trying out the feature for myself, the only thing that tripped me up was that it immediately opens a new window when you create a new Workspace. That means if you have all your tabs but forget to open a Workspace first, you’re going to have to copy and paste everything over to the Workspace once you create one. But that’s something Microsoft might be able to iron out before it launches the feature to everyone.


