Don’t let blisters ruin your time in the outdoors. Our guide on how to prevent blisters and treat them will keep your feet trail happy
Whether you’re an experienced trekker or a newcomer to the trails, you will invariably suffer from one of the most common hiking injuries.
Therefore, we’ve put together a simple guide on how to prevent and treat blisters when hiking.
How to prevent blisters
When it comes to blisters, prevention is always better than a cure. Knowing how to prevent blisters will save you from those painful footsteps later on.
What causes blisters?
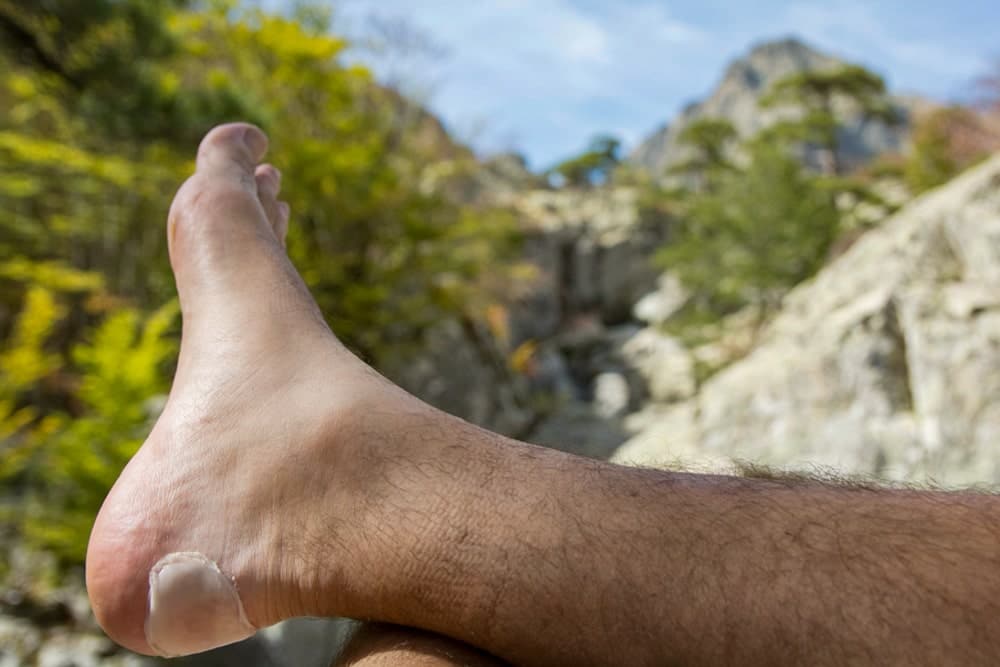
Blisters are actually part of the body’s healing process and develop to protect damaged skin and help it recover. They can be caused by allergies, skin conditions, burns or even insect stings and spider bites. But the most common cause by far is friction.
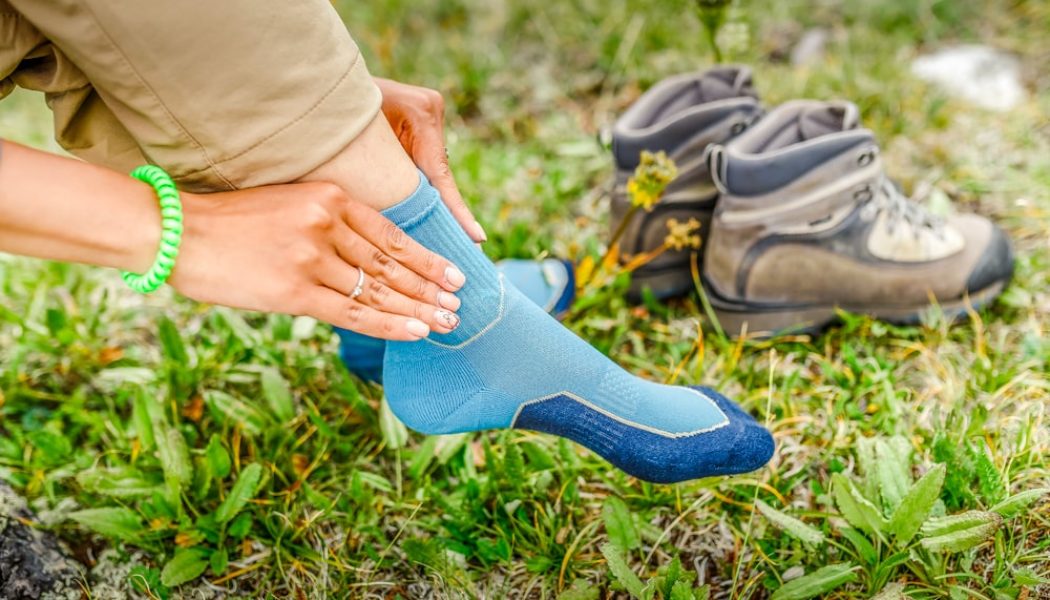
When it comes to hiking, blisters usually occur when your boots and/or socks rub against your feet causing friction hotspots. The resistance causes the thick outer layers of your skin to begin to separate from the sensitive inner layers. Fluid then fills the void between skin layers and a blister is formed.
Blisters appear when one of the following occurs:
- Pressure: a tight area of a boot or a fold in a sock can create a hotspot.
- Direct friction: anywhere where a force repeatedly rubs against the skin and slides can cause a blister.
- Moisture: moist or sweaty skin is softer and is more susceptible to damage when friction takes place.
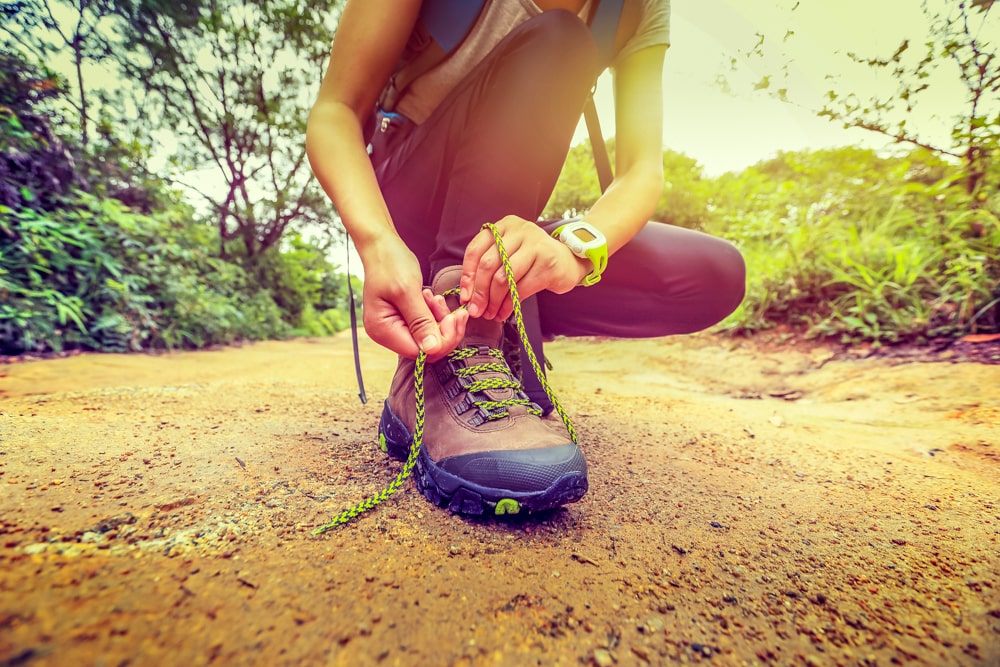
Choose the right footwear
Poorly fitting footwear will cause blisters – so make sure your hiking shoes or boots fit properly. Hiking footwear should fit snugly everywhere, but should not be tight anywhere. Additionally, there should be enough room to wiggle your toes.
When you’re choosing your footwear, try them on at the end of the day – as feet normally swell during the day and will be at their largest – and with the socks you plan to wear. This will help you avoid buying footwear that is too small.
Read our guide on how to choose the right hiking boots.
Break footwear in
One of the biggest causes of blisters is poorly broken-in footwear. Even great-fitting footwear needs to be in sync with your feet. Taking the time to break in a new pair of hiking boots or shoes will ensure comfortable miles on the trail in the long term.
Different boots take different break-in times. Lighter shoes are generally quicker while heavier, leather boots, for example, will need time to soften up and conform to your foot shape.

Start off by walking around your house in your new footwear, making sure you’ve got a snug fit and the innersoles, socks, laces and tongues are all in place. Then venture outside around your neighbourhood checking you’re happy with things before you head further afield.
Off-pavement is where serious breaking-in takes place. Head out on a day hike with a light backpack on. Try a few more day-hikes, gradually increasing weight and distance, before you’re confident to take on a multiday trek.
Just bear in mind that the break-in process won’t turn a poor fit into a good one, so if the shoes aren’t right to begin with, take them back to the shop and try to find a pair with a better fit.
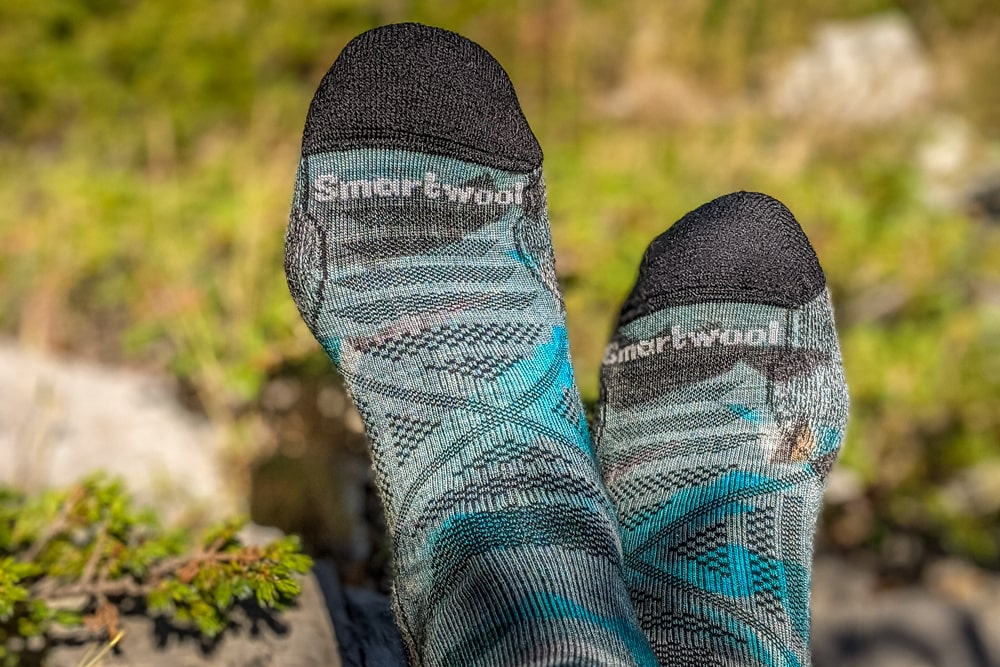
Choose the right socks
When it comes to socks, it’s best to avoid cotton as they tend to hold moisture next to your skin, which combined with friction causes blisters. Instead, opt for moisture-wicking fabric like polyester or wool socks like Smartwool, Bridgedale or 1000 Mile.
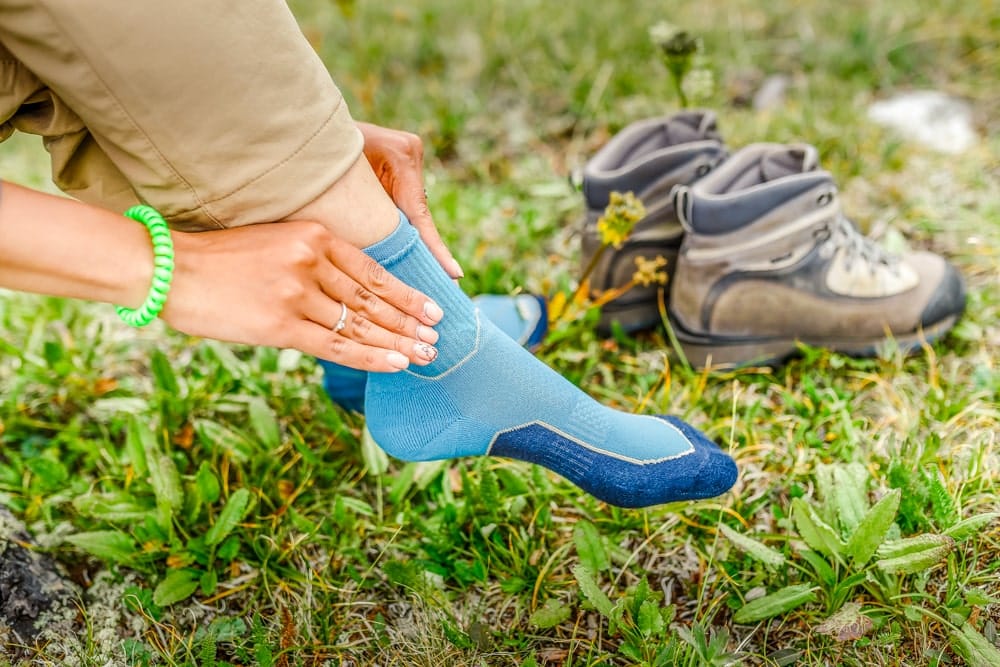
Peter usually hikes in two pairs of socks: a thin pair of merino wool or polyester liner socks next to my skin with a second pair of thicker socks over the top. This is largely a personal choice, the two layers will help to reduce friction and lift moisture from the skin, keeping it drier. Another option is to go for double-layered socks such as Wrightsock.
How to treat blisters
Make sure you are carrying a hiking first aid kit that contains the following:
- Blister plasters and plasters
- Bandage or gauze
- Medical tape
- Safety pin, needle or small knife
- Alcohol or hygenic cleansing wipes wipes
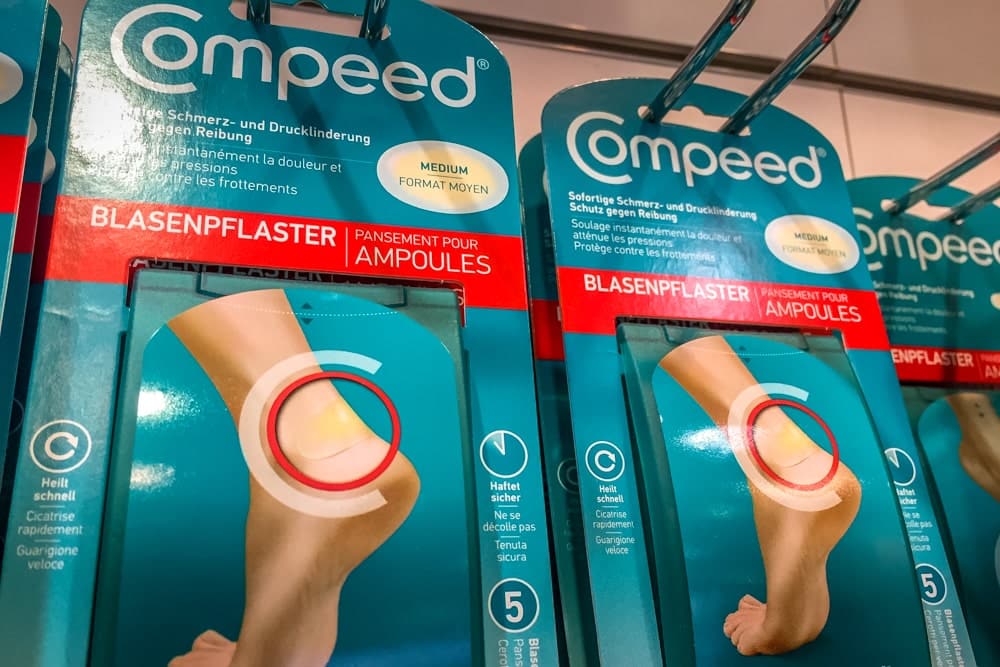
If you notice a hotspot developing, it’s better to stop and treat it before it really sets in. Use a specialist cushioned plaster (known as a blister plaster) such as Compeed to treat hotspots.
Before you apply the blister plaster, warm it up to body temperature as this will make it more adhesive. You can do this by holding it between your hands, placing it inside your clothing or even under your armpit while you take your shoes off.
Make sure your feet are clean, dry and aired before you apply the blister plaster, as the adhesive won’t stick to damp or wrinkled skin. For extra protection, you can add a layer of bandage or tape on the top of the blister plaster.
Should you drain blisters?
The general medical advice is to refrain from opening a blister to release the fluid. It creates an opportunity for infection and you’re essentially removing the protection and healing that the fluid provides.
However, a large blister can become too painful to leave undrained and will likely burst on its while you’re hiking. If this is the case, then to drain a blister do the following:
- Wash the blister and surrounding area with antiseptic
- Sterilise a needle, pin or small blade with alcohol, antiseptic or a flame
- Gently pierce the blister near its base
- Massage the fluid out, leaving the skin that covers the blister intact
- Dress the blister as it were a wound, using antiseptic and a bandage
- For extra protection, you could add a layer of bandage, tape or a large blister plaster over the area
Enjoyed this post? pin it for later…