From minor mishaps to serious crises, the failure of outdoor gear can ruin your entire trip. Here, we explain how to never break a zipper again
Technical outdoor gear is not cheap. I dread to think what I’ve spent on it over the years. Backpacks, sleeping bags, Gore-Tex jackets, fleeces, waterproof trousers, tents… it all adds up. What do these items all have in common? The humble fastener, AKA the zipper.
How to never break a zipper again
Zippers keep you warm, dry and safe in the outdoors but are so often the first thing to break. Understanding how they work, the basic components that make up a zipper and mastering their maintenance can add years to the life of technical gear and save you thousands in the process. Here’s how to never break a zipper again.
Parts of a zipper
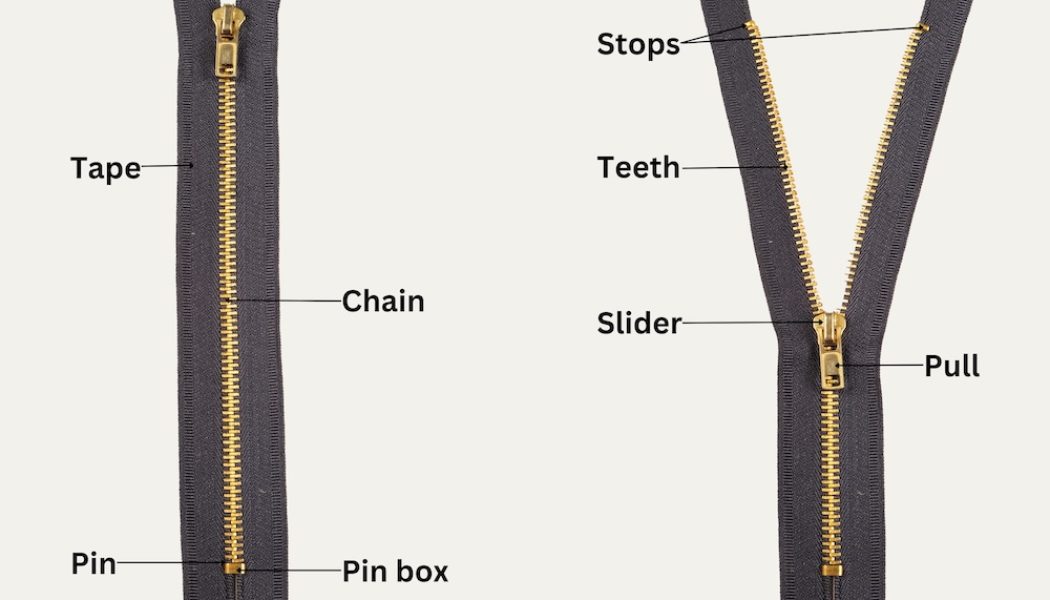
A standard zipper is made up of eight key elements. Knowing their roles will help you understand how to maintain and sustain a zipper for longer.
Chain: The continuous piece that is formed when both halves of a zipper are engaged and interlocked.
Teeth: Also known as elements, the teeth are the rows of nubs that mesh or lock together to create the zipper chain.
Tape: The zipper tape is the fabric running along the outer sides of the zipper teeth/chain.
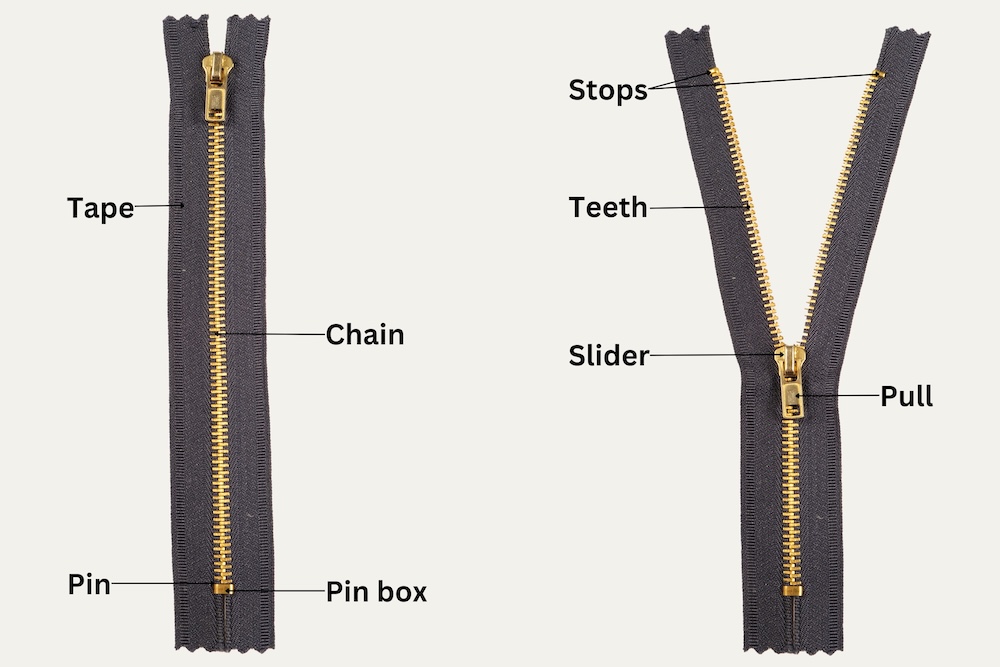
Slider: The larger component on the zipper that runs up and down along the zipper tape. Its purpose is to engage and disengage the teeth as you zip and unzip.
Pin: The small pointed piece at the line of a separating zipper that is inserted into the box.
Pin box: Often called the starter box or simply the box, the pin box is only found on fully separating zippers such as those on jackets. It is the small square at the bottom of the zipper on the tape on the opposite side of the insertion pin. The starter box aligns and holds the insertion pin so the slider can mesh the teeth together.
Pull: The tab of metal or plastic you grasp to slide your zipper up and down.
Stops: Usually found at the top of the zipper, the stops prevent the slider from slipping off the top of the zipper.
Zipper buying tips
Follow these three basic principles when buying a piece of technical gear that has a zipper.
1. Check for YKK
Did you know that just one Japanese company makes over half of the world’s zippers? Chances are that if you take a look at a zipper on a piece of your outdoor gear – or any clothing for that matter – it will be inscribed with the letters YKK.
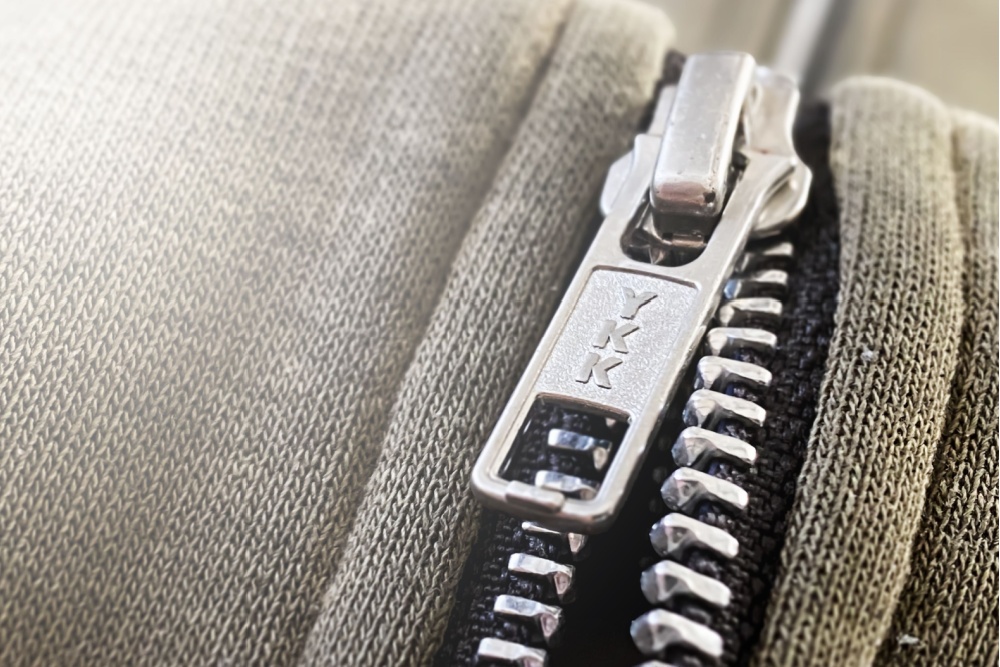
The acronym is stamped on billions of zippers every year and stands for Yoshida Kōgyō Kabushikigaisha. Founded in 1934, YKK is the world’s largest zipper manufacturer. There is a good reason why YKK is so ubiquitous – it is the best and most dependable zipper. It is trusted for reliability and quality by the best outdoor gear brands, no matter where the gear is produced. If you buy a jacket with a generic zipper rather than the YKK brand, the chances of it failing are higher.
2. Try before you buy
Where possible, get the garment or equipment in your hand before you part with any money. Any little defects will only get worse over time.
When it comes to clothing, try it on. If it’s a piece of kit like a sleeping bag or a tent, remove it from its stuff sack or storage bag and test the zippers.
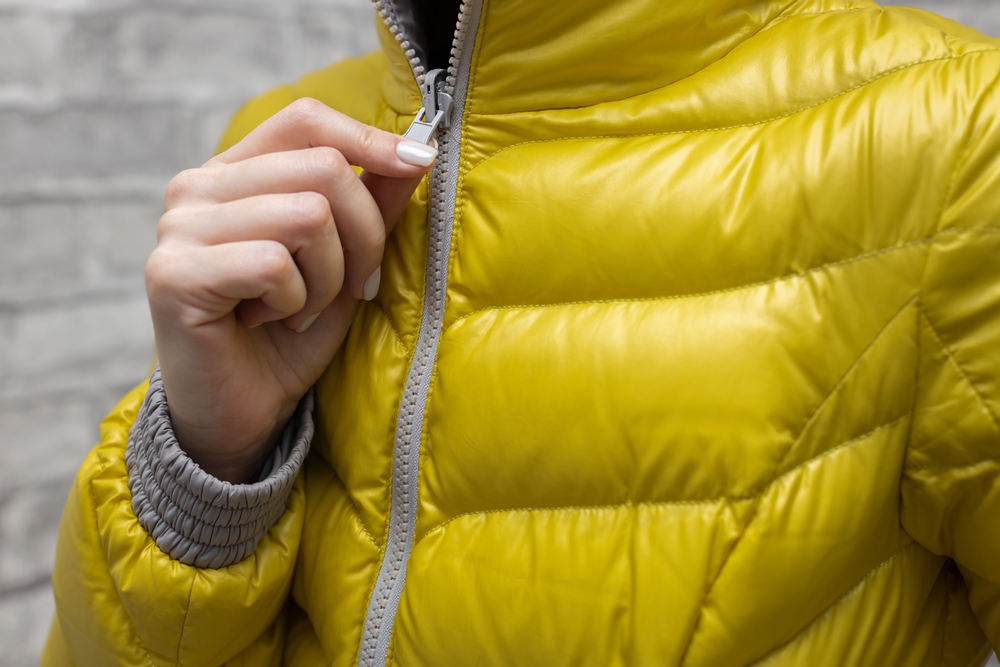
The pin should slot quickly and easily into the pin box and the slider should have a smooth and fluid action and should not snag, catch or get stuck as you zip it up. The teeth should all mesh tightly together and you shouldn’t be able to see any gaps.
The zipper should also stop and reverse smoothly when it meets the stops at the end of the zipper. Lastly, check for any loose threads along the tape.
3. Bigger is better
If you’re comparing similar products, the one with a larger main zipper will almost certainly last longer. Every time a zipper is used, it wears off tiny bits of material. Smaller teeth, particularly if used regularly, will fail faster because they have less material to spare. Over time, the teeth on smaller zippers will distort, lose their hard edges and stop engaging from fewer uses.
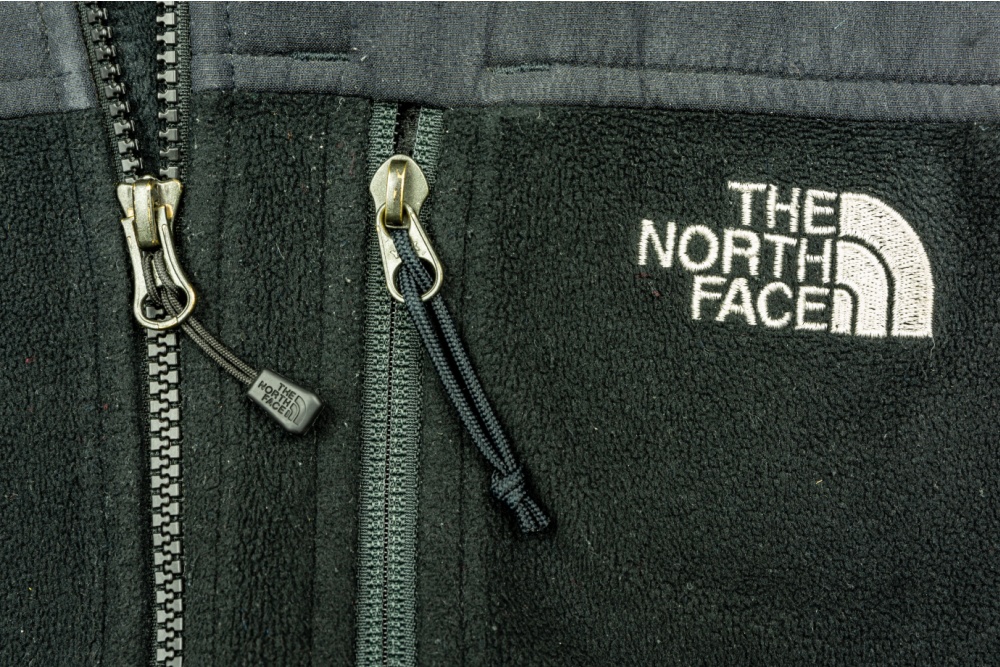
The difference in the weight between a 5mm zipper (the sort usually found on a lightweight rain jacket, for example) and a 10mm zipper (likely found on a heavy-duty suitcase) is negligible. But the 10mm zipper is going to last a lot longer.
Follow good zipping practices
The best way to keep your zippers in good working order is to treat them with respect. Follow these three basic zipping practices.
1. Always seat your zipper carefully
Take extra care to properly seat the pin into the pin box every time you zip something up – particularly jackets. Chances are you’ll be cold, about to get wet or in windy conditions and you’ll be desperate to get that extra layer on. This is also the time you’re most likely to break a zipper because you’re rushing.
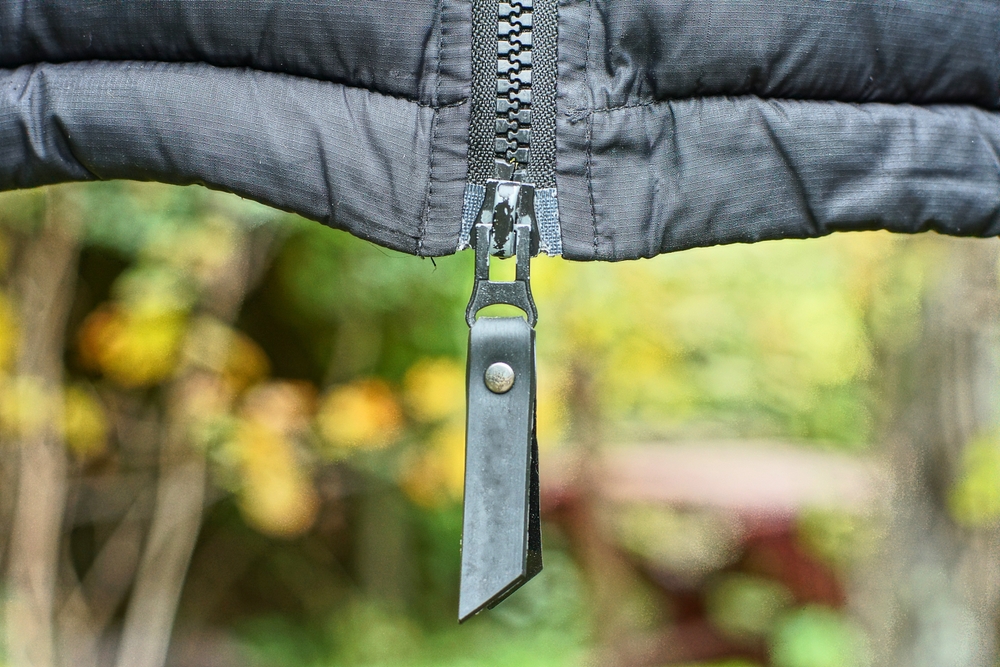
If you rush the seating or don’t get the pin perfectly into the box, it significantly increases the chances the teeth won’t engage uniformly. That makes them more likely to distort. Tiny defects in the teeth will eventually lead to unfixable problems in a zipper.
Likewise, applying some extra care and diligence goes for the slider, too. Try to pinch the slider against the pin box with your forefinger and thumb and hold it directly below the pin before slotting the pin into the box. This creates compression that sets up the zipping action cleanly.
2. Never force a zipper
If you notice any resistance, the most important thing to do is to stop zipping. Zippers should run smoothly, so if there’s any sluggishness, then pause and examine the zipper. While this may sound obvious, it’s not always easy to follow. As mentioned, chances are you’re cold, wet or grumpy.

Tugging on a zipper is more likely to damage teeth or pull the slider off the track. In the long run, breaking a zipper is going to make the task – be it pitching a tent or packing your luggage – even longer. Slow down, use gentle hands and get it right the first time.
3. Don’t use zippers to close luggage
One of the main causes of a broken zip, particularly on luggage and backpacks, is trying to use the zipper to close something. Forcing an overpacked bag closed puts a lot of force on the slider and teeth. Zippers are not designed to withstand that kind of extra force.
Zips are essentially one-dimensional pieces of equipment. They’re designed to go up and down. Once you start forcing them to curve around an object, they are significantly more likely to fail. So, if you spot a bulge in your backpack, try to repack it before forcing a zip around it.

The same rule applies to clothing. That’s why it’s important to always buy technical jackets and trousers with enough space in them to fit extra layers underneath. More on that below.
How to fix a stuck zipper
Eventually, no matter how careful you are, you’ll probably experience a stuck zipper at some point. Here’s the best way to fix it.
- As mentioned, never force a zipper. It will only damage it or make the problem worse.
- If possible, take the garment off and lay it out to remove any tension on the zipper.
- If there’s fabric caught in the slider, gently pull on the fabric and not the zipper.
- If that doesn’t work, use a pair of needle nose pliers or tweezers to hold the fabric closest to the slider and gently pull. Wiggle the fabric and gradually slide the zipper’s pull tab as you work the fabric until it releases.
- If there is nothing obviously caught in the zipper, use a pencil to coat the teeth with graphite in as many places and sides as you can access. This will lightly grease the zipper. Applying a small amount of dish soap or petroleum jelly with a cotton swab will also help.
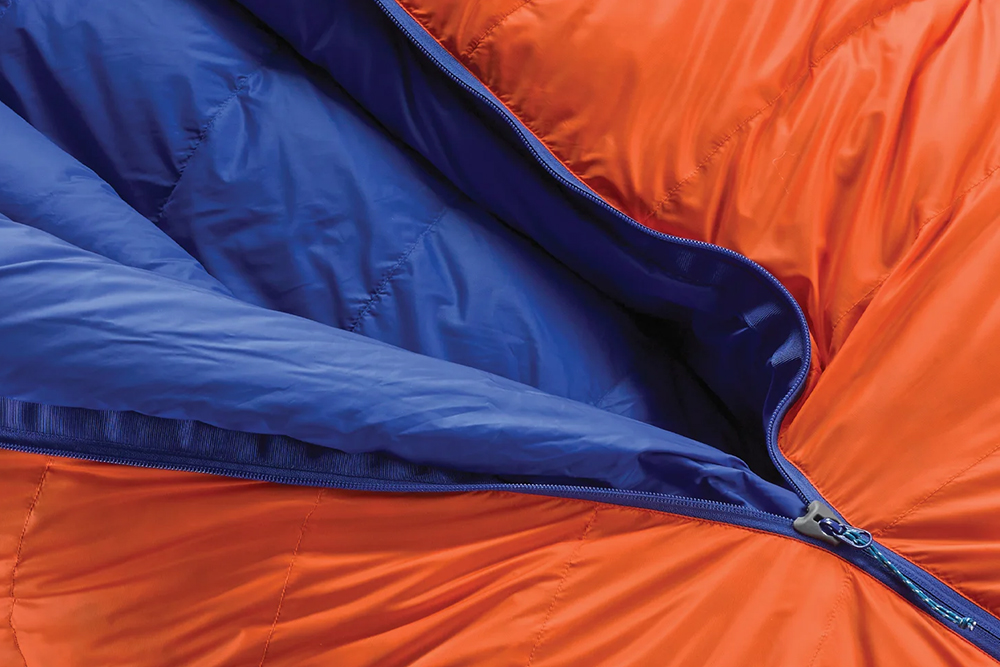
How to fix a zipper slider
If the zipper teeth no longer mesh or they pull apart, then the slider is probably worn out and will need to be replaced. Follow the instructional video below from outdoor experts REI on how to fix a zipper slider. You’ll need some basic hand tools, a new slider and an end stop.
Zipper maintenance
Finally, looking after your zippers will save you time and money in the long run. Below are some basic zipper maintenance tips.
1. Clean your zippers
Over time, dirt and grim can get clogged up in the spaces between the zipper teeth, preventing them from meshing and causing the slider to catch. Grit can also cause abrasion, chipping away at the zipper teeth.
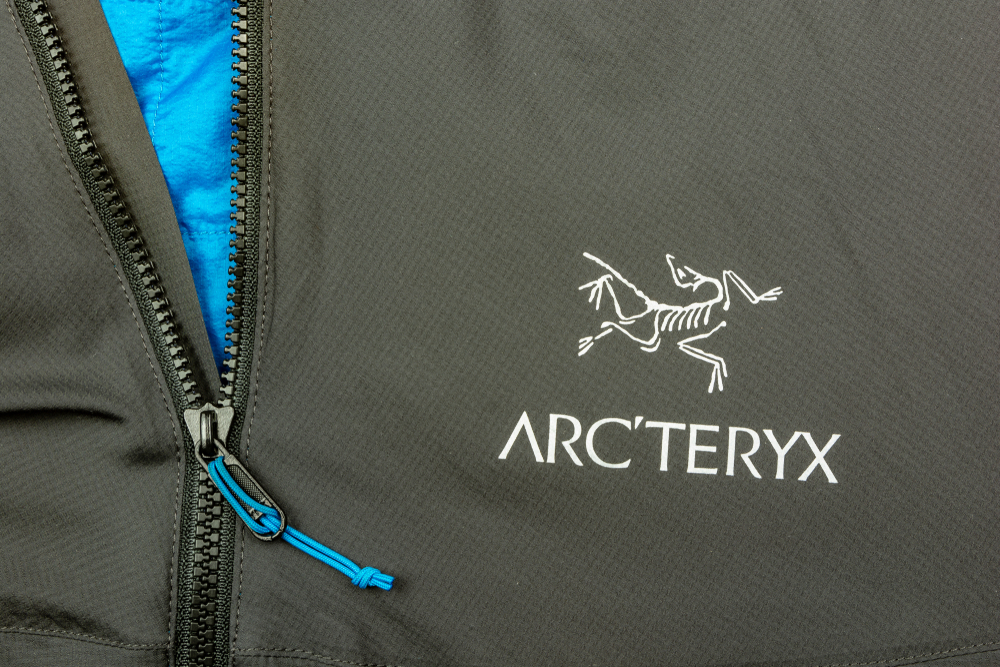
Running a piece of technical gear through the washing machine will get rid of most of the grime but it’s worth using a small brush (even a toothbrush) to get into the mechanism. If the gear is not machine washable – such as a tent or backpack – lay it out and clean it with a brush and soapy water.
Read our article on how to look after your hiking gear for details on how to wash technical items.
2. Wax your zippers
This is particularly relevant to larger zippers but will work on all sizes. Applying a little bit of wax to a zipper will help lubricate the teeth and also help to keep out sand and grit.
Don’t use a liquid lubricant as it could stain your fabric, instead, rub a block of candle wax onto the teeth. Then slowly and repeatedly, zip and unzip the garment. As the wax heats up and melts, it will work its way into the base of the teeth and improve the zipper’s longevity.
3. Size up your gear
We’ve already discussed how zippers are not good for compressing luggage and other items so with this in mind, it’s important to always size up your gear.
For jackets, buy a size that’s large enough to comfortably add layers as bulky as a fleece underneath. As for packs and suitcases, try to pack less or, if you must, opt for a larger piece of kit with more capacity.
4. Use zipper pulls
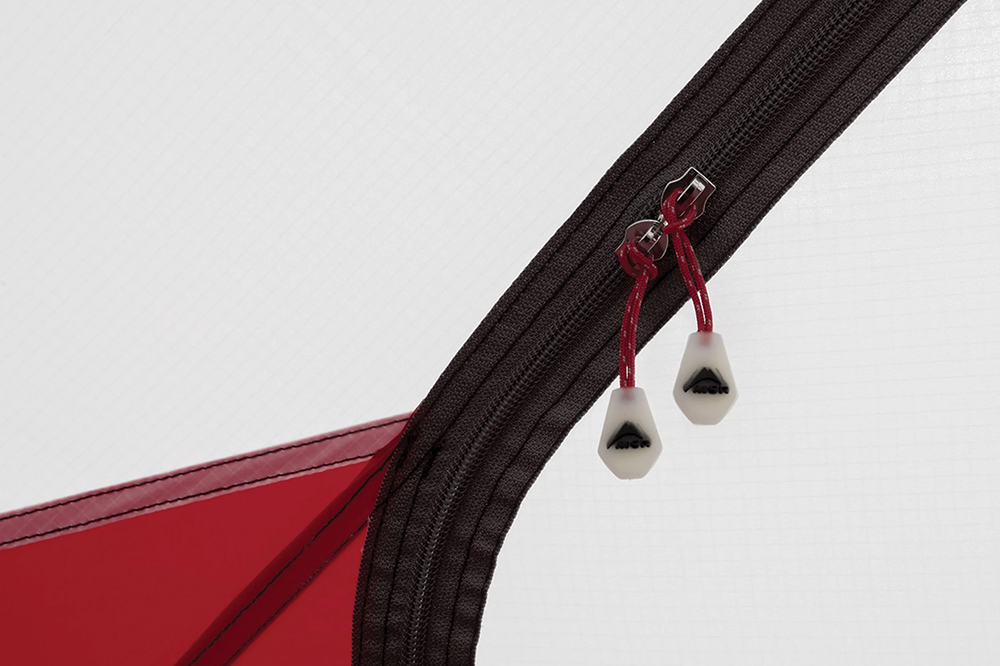
Finally, replace ageing, broken or missing pulls with zipper pulls. They’re easy to attach to sliders of all sizes. Also, consider replacing the default ones with glow-in-the-dark zipper pulls. These are particularly useful for sleeping bags and tents.
Enjoyed this post? pin it for later…
