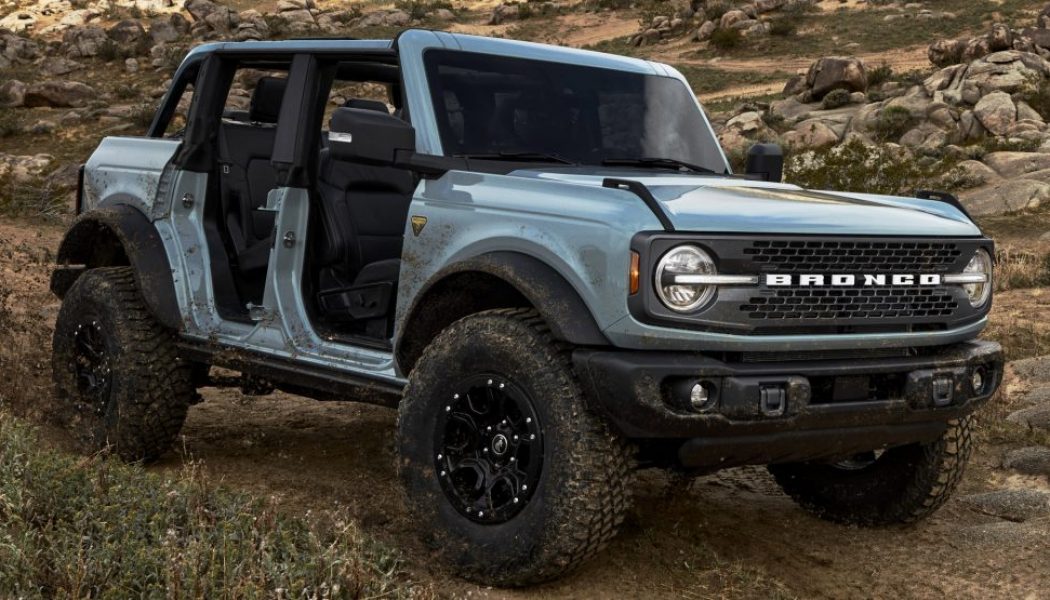
Unlike removing the 2021 Ford Bronco’s hard top or doors, this procedure is not for everyone. Removing the Bronco’s fenders is not trivially easy, and it shouldn’t be done frequently. You could take the top and doors off every time you drive your Bronco, replacing them when you park it, but removing these panels is a much bigger deal. And please don’t plan on four-wheeling with these panels off, as this leaves sensitive parts vulnerable to damage. The best reason to remove these body panels is to replace them with ruggedized Ford accessory or aftermarket panels to preserve your pretty factory-painted ones while dicing with Jeep Wranglers at Moab or along the Rubicon Trail. (Originality fetishists take note: Many of the fender and quarter panel bolts are painted at the factory, and removing them disturbs this paint.) Another great motivation for removing fenders: To swap them with pals that own wildly different colored Broncos so you can each drive a Harlequin version (spot yours in the parking lot by its hood and tailgate colors).
Note that our experience described below was gained removing the passenger-side panels on a two-door Bronco. We’re assured the procedure is similar for the driver side and for the four-door, but exact bolt counts and locations could vary slightly. Including a bit of instruction, disassembling the passenger side for the first time took 1.5 hours.
Before we start, you’ll need to round up some tools that don’t come in the standard Ford Bronco tool kit: A flat-head screwdriver or pushpin prying tool, a Philips-head screwdriver, 7mm, 8mm, and 13mm sockets, and a T15 Torx bit. PRO TIP: Label some Ziplock bags to identify and store the fasteners for each of these steps to prevent confusion later.
Preparation Steps
Step one: If your Bronco is equipped with rock rails, they probably need to come off to gain access to the lowermost fender bolts. The factory rock rails that come standard on Badlands and other top models attach with two 13mm bolts and four 10mm bolts.
Step two: Remove the Ford Bronco fender flares by loosening five quarter-turn fasteners on each one. Note that the rears come right off, but you’ll need to give the front flares a bit of a yank to free a snap fastener.
Front Fender Removal
Step three: Remove the grille. Start by opening the hood and prying off nine pushpins that retain the air deflector bridging the gap between the grille and radiator support. Once they’re all out, carefully extract the air deflector from under the intake snorkel to expose four 10mm bolts securing the top of the grille. After removing these, the sides and bottom of the grille are only retained by clips, so firmly pull it forward to remove it.
Step four: Remove the body-color panel beneath the grille. This simply clips into a plastic retainer on each side. Pull firmly to remove. Work gloves are recommended, as sharp edges can cut.
Step five: Remove the plastic pieces that retained the panel above. Each is held on by three 8mm bolts.
Step six: Remove the “Trail Sights” by removing one 10mm bolt and two 10mm nuts, taking care that they don’t fall down into the engine compartment.
Step seven: Disconnect the front fender from the wheelwell liner by removing four 7mm bolts and five pushpins.
Step eight: Remove the panel closing the fender-to-body gap ahead of the front door by removing four pushpins and pulling.
Step nine: Remove one 8mm bolt at the top rearmost corner of the fender, two 10mm bolts at the bottom rear, and four 10mm bolts along the top of the fender. The feathery aluminum panel should now come right off.
Rear Quarter Panel Removal
Step 10: Swing open the rear gate, and remove the plastic/rubber panel concealing the hinge area. Two 10mm bolts and four plastic pins with Philips-head centers hold it in place. PRO TIP: Bagging and labeling the fasteners is especially key during these steps because not all the bolts are the same length.
Step 11: Remove the body-color panel beneath the taillamp. This is retained by two large “Christmas tree” type pushpins where it meets the tailgate, and by a flange retainer (like the ones that hold the panel below the grille) where it meets the quarter panel. It takes a harrowing yank to get it off.
Step 12: Remove two T15 Torx fasteners that retain the BLIS blind-spot monitoring sensor from behind the panel just removed to gain access to the fasteners in the next step.
Step 13: Remove the four 10mm bolts that secure the lower rear corner of the quarter panel. Two of these bolts pass through the black plastic piece that retained the panel from Step 11, and the other two were behind the BLIS sensor.
Step 14: Remove 13 more 10mm bolts that hold the quarter panel on. One is above the taillamp at the far rear, five surround the wheelwell, and three fasten the forward edge to the door jamb (you’ll have to lift up a rubber flap to find the top one). Finally, remove the four bolts along the top surface. Then the steel fender should come off freely.
Reassembly
Presuming you carefully bagged and labeled all the fasteners (and none got lost in the engine compartment or the forest floor), reassembly is pretty much the reverse of disassembly. One hint: Replace the body-color panel beneath the taillamp from step 11 by first lining up those two plastic pushpins to serve as “hinges” as you “close the panel like a door,” pressing it firmly into place.
