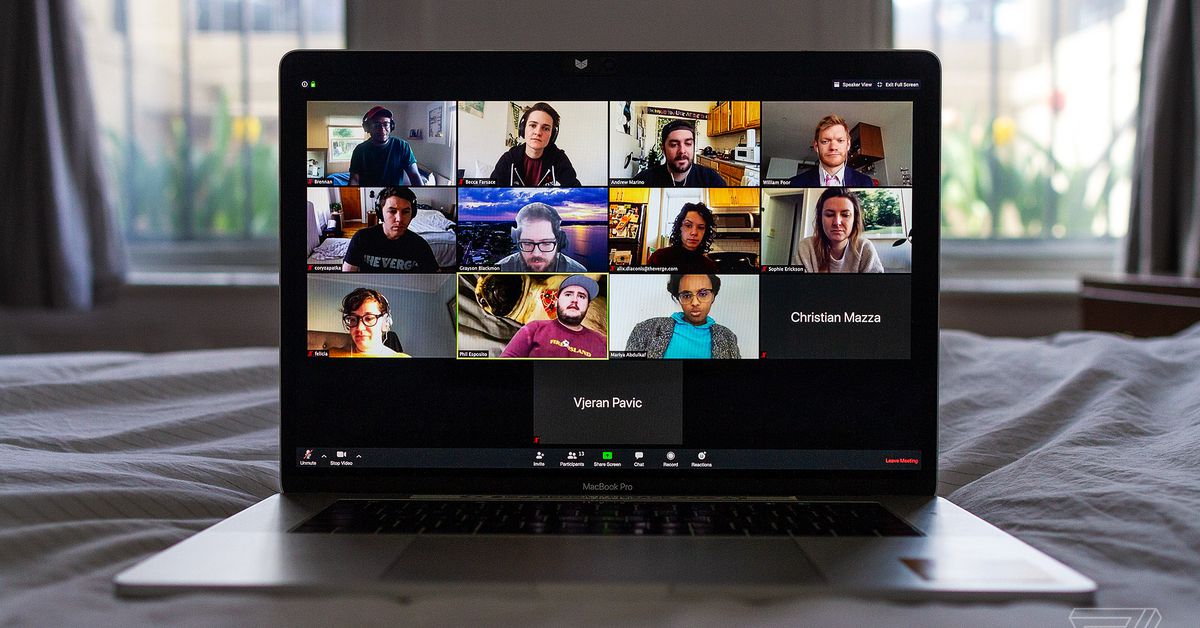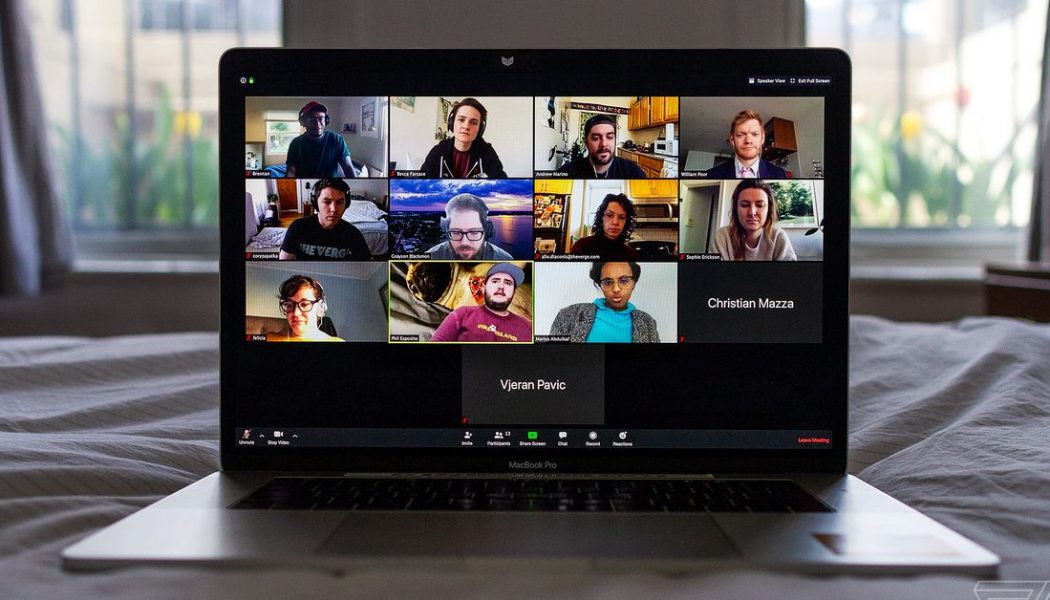
People are doing a lot more video conferencing now that they’re stuck at home due to the COVID-19 pandemic. These sessions can be a great way to stay in touch with friends and family, conduct business with colleagues, and keep up with schoolwork. Sometimes, though, you may want to save a recording of the meeting so you can revisit it later. That could let you listen to a teacher’s lecture again, use the audio for a podcast, or even relive the announcement of a family pregnancy (which is something that actually happened to me on a recent family video call).
Many services offer ways to record video meetings, even on their free versions. We’ve outlined here how to set up recordings for three well-known services: Zoom, Google Meet, and Skype.
Zoom
Zoom lets you record calls whether you’re a free user or a paid user. However, if you’re a free user, you’ll only be able to save recordings to your computer. If you want to save recordings to the cloud, you’ll need to be on one of the company’s paid offerings. Those plans start at $14.99 per user per month for its Pro plan and $1,800 per year for schools.
Here’s how to record a Zoom meeting:
- If you’re the host of your Zoom call, click the record button on the toolbar at the bottom of the call window to start the recording. If you’re on a paid plan, you should see the option to pick between making a local recording or a cloud recording.
- When the recording starts, you’ll be able to pause or stop the recording using buttons in the top left corner of your screen or on the Zoom toolbar.
- If you opted for a local recording, the call will be converted into a .mp4 file and saved to your computer as soon as you end your meeting. In my testing, Zoom automatically opened the Finder window to the folder with both audio and video versions of the recording.
- If you opted for a cloud recording, when you end your meeting, Zoom will show you a message saying that you’ll get an email when the recording is ready. For me, that email had a link to Zoom’s website with audio and video versions of the recording, as well as a password-protected link I could share with others so they could view and download the recording.
Zoom’s website has support documents for cloud recordings, local recordings, and recording using Zoom’s iOS and Android apps if you want to learn more. The company also put together a helpful video that demonstrates how to record a call when you’re using a computer.
Google Meet
For a limited time, anybody who is a G Suite customer should be able to record a call via Google Meet. That’s because Google has opened up free access to recording and other advanced Meet features until September 30th. After that date, video recording in Meet will presumably revert to only being available for customers of G Suite Enterprise, which costs $25 per user per month, and G Suite Enterprise for Education, which costs $48 per user per year (though Google is offering lower promotional pricing until July 31st under certain circumstances). If you plan to host video meetings via the free version of Google Meet that’s rolling out over the coming weeks, though, you won’t be able to make recordings, Google tells The Verge.
Here’s how to record a Google Meet call. Note that I was not able to personally test these steps myself; the recording feature wasn’t enabled for the G Suite account I use at work (or for the account of a colleague who has a personal G Suite account). If you don’t see the recording option after following the steps below, it may not have rolled out to your account yet, or your company’s G Suite settings may not let you make recordings.
- Once you’re in the meeting, click the icon with the three vertical dots in the lower right hand of your screen. A menu will appear, and on the top of it, you should see a “Record meeting” option. Click that to start recording. The meeting organizer or anyone in the same organization as the host can record a meeting, according to Google.
- To stop recording, click the three vertical dots again and click the “Stop recording” menu option at the top of the list.
- Recordings will be saved to the meeting organizer’s Google Drive in a folder called “Meet Recordings.” The organizer will also receive an email with a link to the recording. If you aren’t the meeting organizer but activated a recording, you’ll also be emailed a link to the recording. A link to the recording will also be added to the calendar invite.
Google has additional details about meeting recordings in this support document, and you can see a video about recording in Meet here.
Skype
Here’s how to record a Skype call.
- You’ll need to have at least one other person on your call to do a call recording. Once the other person has joined, you should see an option to “Start Recording” in the bottom left corner of your call window when you move your mouse. Either person can click on that to start a recording.
- To stop recording, click the “Stop recording” button at the top of the screen or in the same bottom left corner of the window where the “Start Recording” button was.
- When you end your call, you’ll be able to access the recording in the Skype app and download it to your computer. Recordings will be available for 30 days.
You can also check out Microsoft’s support document about call recording in Skype if you want to learn more.


