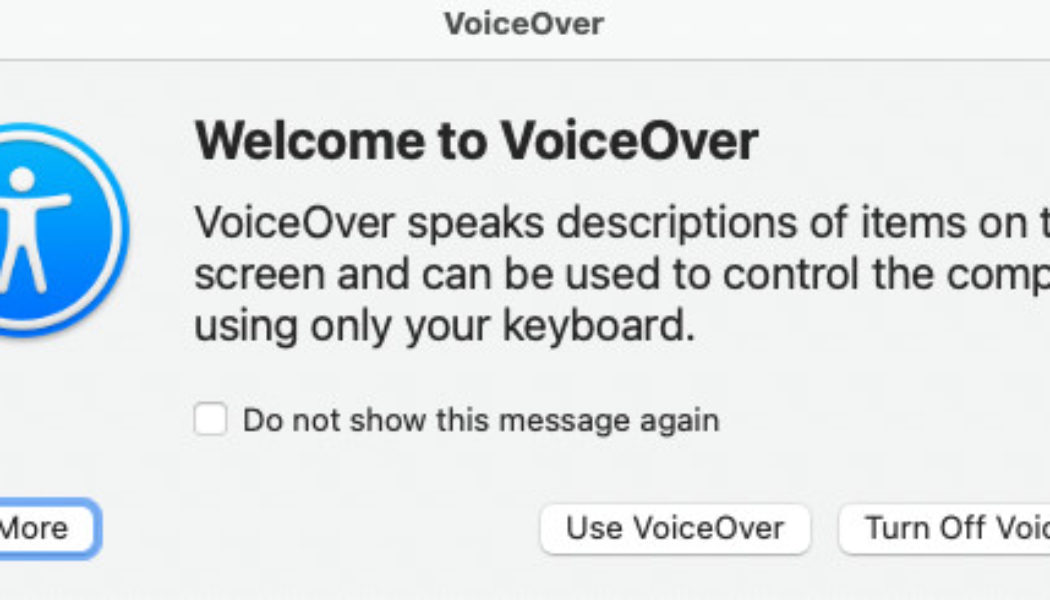
Starting with macOS X, Apple has included a native screen reader called VoiceOver on its Macs and MacBooks. The feature is designed to help low-vision or blind users navigate their computers — and the internet — more easily. It works by reading aloud text descriptions of everything that appears on the screen, as well as reading any displayed text. The technology also allows users to interact with elements on the screen.
While VoiceOver is primarily meant for those with visual impairments, it can be helpful in many different scenarios — for example, if you’re someone who has a learning disability and prefers to listen to text rather than read it.
Apple has a whole user guide that gets into the nitty-gritty of how to use VoiceOver with refreshable braille displays and trackpad gestures, as well as how to customize the feature to best suit your needs (e.g., reading speed, voice profile, enabling screen curtain for privacy, etc.). But if you’re just getting started, here are a few easy ways to turn on VoiceOver.
- Open System Preferences and then select Accessibility. From the left-hand menu, in the Vision category, select VoiceOver. Click Enable VoiceOver. You can also click the Open VoiceOver Training button to access the Quick Start training menu. Clicking the Open VoiceOver Utility button will open a menu where you can customize features like reading speed and voice profiles.
:no_upscale()/cdn.vox-cdn.com/uploads/chorus_asset/file/23923506/Screen_Shot_2022_08_04_at_2.44.16_PM.png)
- Press Command and the F5 button. This should also bring up a Welcome to VoiceOver window. Click the Use VoiceOver button. In the lower left-hand corner, there’s a Learn More button where you can get the gist of basic commands, learn how the feature works, and practice using it effectively. You can turn it off by pressing the same keys and then clicking the “Turn Off VoiceOver” button.
- If you have Siri enabled on your Mac, you can ask it to “Turn VoiceOver on” or “Turn VoiceOver off.” If you don’t have Siri enabled, you go to the Apple Menu in the top bar, select System Preferences, and then click the Siri icon. Once there, check the Enable Ask Siri box.
- Press Option + Command and F5 to bring up the Accessibility shortcut panel. Press the tab key until you hear the VoiceOver option. Then press the space bar.
- There’s an alternate shortcut if you’re on macOS Big Sur or later and your Mac has a TouchID button. While holding the Command button, quickly press the TouchID button three times. This also works if your Magic Keyboard has a TouchID button.
You can also opt to have VoiceOver turn on whenever you log onto the computer. To do this:
:no_upscale()/cdn.vox-cdn.com/uploads/chorus_asset/file/23923508/Screen_Shot_2022_08_04_at_2.59.59_PM.png)
- Go to System Preferences.
- Select Users & Groups, then select the Login Options button at the bottom of the user list.
- If the lock icon at the bottom left is closed, enter your administrator password.
- Click the Accessibility Options button on the right-hand side of the window.
- Check the VoiceOver box and then click Apply.
VoiceOver isn’t the only accessibility feature available on macOS. If you’re interested in exploring other options, check out our macOS accessibility guide here.


