If you have more images in your Google Photos app than you know what to do with, why not put your phone to work displaying them? With a few simple steps, you can use your Android phone’s screen saver feature to turn your phone screen into a digital picture frame while it charges.
This works especially well for phones with wireless charging (so you can see your photos with the phone propped up on a charger), but it will work with any kind of charging mode or if you connect your phone to a dock. It’s built right into the operating system, and it’s a neat, easy way to show off some of your favorite photos.
I used a Motorola Moto G Stylus (2022) for the steps below, but the process is very similar on a Samsung or Pixel phone. You’ll need to have the photos you want to display in a Google Photos album.
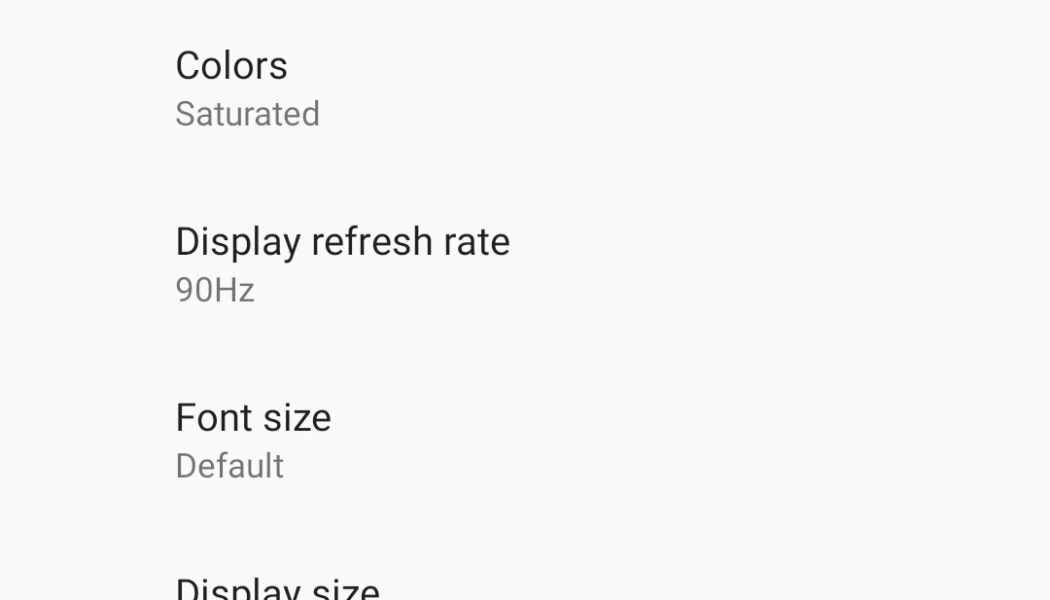
- Go to Settings > Display.
- Tap Advanced to reveal more menu options (if you need to) and select Screen saver.
- Tap Current screen saver and choose the Google Photos app icon. This will take you back to the main screen saver menu page. From there, tap the gear icon next to Current screen saver.
- From here, you can access some preferences, like turning the animated zoom effect on or off. To select which photos the screen saver will show, choose your Google account to bring up a list of your Google Photos albums. (You may also see a list of the albums you have on your device.) Place a checkmark next to the ones that you want to include.
- Navigate back to the main screen saver menu page and tap When to start to choose when the screen saver will turn on — either while charging, docked, or both.
- Navigate back to the main screen saver menu page, and tap Start now (or Preview) to see what it will look like.
:no_upscale()/cdn.vox-cdn.com/uploads/chorus_asset/file/23387802/Screenshot_20220413_111628.png)
:no_upscale()/cdn.vox-cdn.com/uploads/chorus_asset/file/23387804/Screenshot_20220413_111546.png)
You’re done! Here are a few additional pointers for your brand-new, no-additional-cost digital photo frame:
- Obviously, vertically oriented photos will look best.
- Choose photos in which the subject is centered, or else they might be cropped right out of the picture.
- If you do have a lot of horizontally oriented photos, turning off the “photos fill screen” option will help, but your images will look quite small on your display.
The screen saver will always start with the first photo in the album and continue showing them in whatever order the album is sorted in. If that sounds a little too repetitive, you can create an auto-updating album. Here’s how to do it:
- Start a new album in Google Photos. In the app, you’ll tap the Library tab at the bottom of the screen and select the plus sign for a new album. Or, choose an existing album by going to the same Library tab and selecting an album.
- Give your new album a title, and under add photos tap Select people & pets. Pick the subjects you want to include in the album. Google will automatically identify them in new images uploaded to Google Photos and add them to your album.
- If you’re using an existing album, tap on the three dots in the upper-right corner, select Options, and under Automatically add photos, tap the plus sign and select who you want to include. Check Also add existing photos if you want.
- New images will appear at the beginning of the album, so they’ll be the first to display when your screen saver starts.


